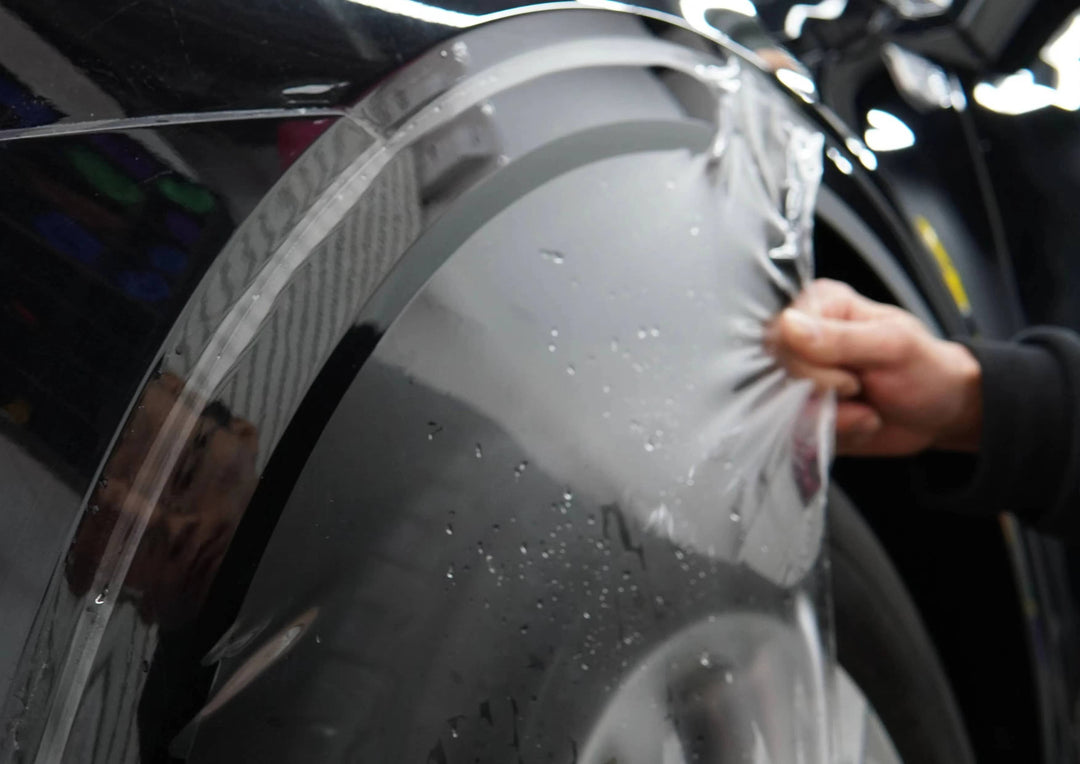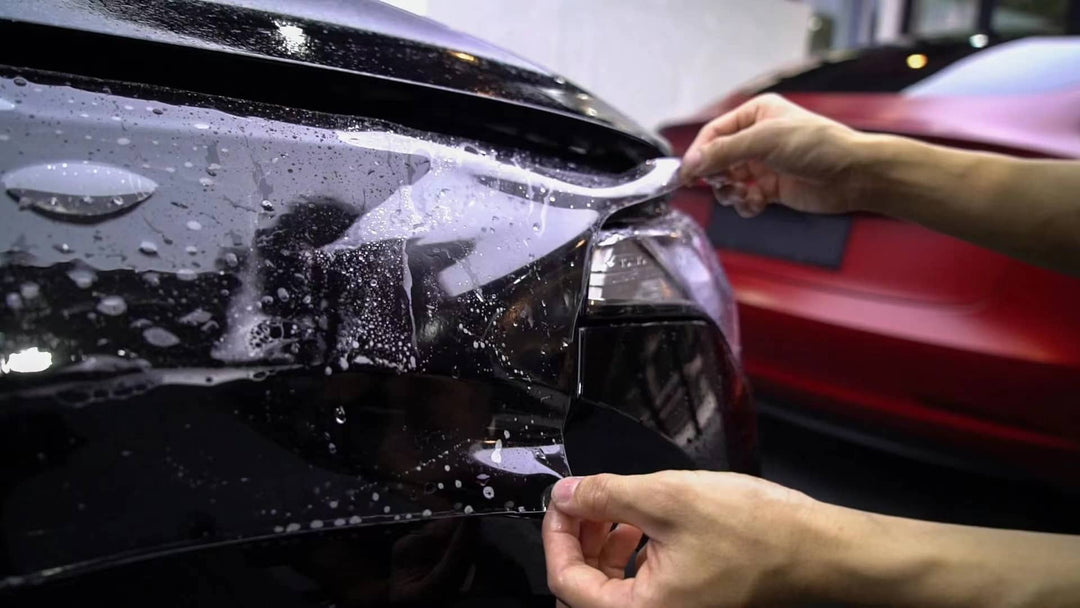
PPF Installation Steps
Installation Care and Guidance for DRZ Paint Protection Film
The DRZ Paint Protection Film boasts unparalleled properties in the industry. To maximize the full spectrum of benefits offered by our PPF, we urge a thorough consultation of this guide. Adhering to these care instructions will considerably enhance the durability, appearance, and value of their vehicles.

Before Installation (Surface Preparation)
- Thoroughly clean the vehicle’s surface to prevent any contamination during installation. We recommend using a high pH detergent mixed with water, which is far more effective than regular soap in removing oil, dirt, grease, bugs, and road grime.
- Clean the surrounding area where the film will be applied. For example, if you plan to apply a strip of PPF on the hood, make sure to clean the entire hood, fender, and headlights.
- To prevent film contamination (such as dirt leaching out during installation), use a high-pressure washer and/or pressurized air. Ensure that dirt is washed or blown out from seams and openings around the headlights, grilles, and fog lights to prepare a clean surface for the PPF application.
- After washing the car, use a clay bar, pad, mitt, or auto scrub to thoroughly clean the surface before installing the PPF. The clay will help remove paintwork defects like metal dust, road debris, and other particulates that may remain after washing.
- If additional degreasing is needed, remove any oil deposits with isopropyl alcohol and dry the surface completely.
- Wipe the edges of the area where the PPF will be applied with pure isopropyl alcohol and lint-free wipes. This step ensures that the edges are free from any contamination, creating a better adhesive surface for the film.
Essential Tools and Preferred Mounting Solutions
Tools Required
- A squeegee for cleaning the vehicle
- Yellow Turbo Squeegee, specifically designed for the installation process
- OLFA knife and blades, available in either carbon steel or ceramic, for precision cuts
- A 32-ounce spray bottle or larger, essential for application solutions
- Heat gun (this is optional but can be useful in certain installation scenarios)
Mounting Solution Guidelines
For an impeccable installation and to ensure the aesthetic integrity of the finished film, adhere to the following best practices regarding mounting solutions:
- Utilize distilled or purified water during the installation process. Tap water often contains a high concentration of dissolved minerals such as Iron and Calcium, which could potentially compromise both the installation process and the visual appeal of the film. It's advisable to use water at a stable room temperature, ideally 24°C (75°F).
- Opt for Johnson Baby Shampoo or a similarly neutral soap devoid of any additives (e.g., moisturizers), which can leave undesirable hazy marks beneath the film.
- Adjust your soap solution based on the weather:
- In colder conditions, if the air (or vehicle surface) temperature ranges between 15°-23°C (60°-74°F), add just 2-3 drops (less than 0.5ml) of soap to each 32-ounce spray bottle.
- In warmer scenarios, where temperatures lie between 24°-32°C (75°-90°F), the soap concentration should be slightly higher, with 4-5 drops (less than 1ml) per 32-ounce spray bottle.
- Be mindful that different paint protection films might require varying amounts of soap during the installation. Over-soaping can lead to excessive sliding of the film and ultimately weaken the adhesive bond. Our guidelines are designed to help you achieve the best outcomes.
Alcohol (Tack) Solution
- To create your tack solution, use isopropyl alcohol, which is readily available at any pharmacy or grocery store. This alcohol is typically sold in 70% or 90% grades, both of which are suitable for this purpose. It's crucial to dilute the alcohol with water according to the instructions provided below. Applying undiluted alcohol directly to the adhesive can cause it to become hazy.
- For an ideal tack solution, mix 9 parts water with 1 part alcohol. If you require more adhesive strength, adjust the ratio to 8 parts water and 2 parts alcohol. We strongly advise against using a higher concentration of alcohol, as this can negatively impact the adhesive quality.
Setting Up the Ideal Installation Environment
For optimal results, paint protection film should be stored and applied within a temperature range of 15°-32°C (60°-90°F). This ensures the film remains flexible and the adhesive maintains its full stickiness. Avoid installing the film under direct sunlight or in settings open to outdoor air, as these factors can introduce contaminants between the film and the vehicle’s surface.
If the External Temperature Exceeds 32°C (90°F)
- Allow the vehicle to cool down to match your installation area's temperature.
- Open the hood to let the engine area cool off before starting the installation.
- Never install the film under direct sunlight.
If the External Temperature Drops Below 15°C (60°F)
- Warm the vehicle within your installation space to at least 15°C (60°F). In winter, consider using infrared heaters to expedite this process.
- Use warm water for both the mounting and alcohol (tack) solutions. If the film slides too much, reduce the soap quantity.
- After installation, ensure the film’s edges are securely attached. Use a heat gun to dry any moist edges without overheating. To test the heat gun's temperature, expose your hand to the airflow for 2-3 seconds; if it’s too hot for your hand, it's too hot for the film.
In Freezing Conditions Below 0°C (32°F)
- Adhere to the above instructions for temperatures below 15°C (60°F).
- During installation, gently warm the edges of the film to ensure proper adhesion, taking care not to overheat. Use the hand test method to gauge the appropriate temperature for the film.
- The vehicle should remain indoors for at least 12 hours post-installation to let any moisture fully evaporate and the film to properly adhere.
- Under freezing conditions, it may be beneficial to keep the vehicle under infrared heaters overnight to guarantee that the film fully dries and cures.

Seamless Installation Process
DRZ paint protection film stands out for its ease of installation, negating the need for excessive stretching that can lead to issues. Here's how to achieve a flawless application on common areas of your car:
Hood
- Start by liberally applying a soap and water solution beneath the film as you position it on the hood.
- Secure the film on one side of the hood by squeegeeing out the water towards the edge, creating a tack point.
- Gently stretch the film across to the opposite side of the hood and anchor it by expelling the water in the same manner.
- Exercise caution to avoid overstretches that can create ripples or "fingers" along the film's edges.
- Eliminate residual water from beneath the hood with up-and-down squeegee strokes, overlapping for thorough coverage. Avoid pushing the water back towards any area that's already tacked, as this could lead to water trapping or compromised adhesive.
Bumper
- Position the film on the bumper, temporarily securing the corners to maintain its placement.
- Identify a central alignment spot, then tack this middle point using an alcohol solution without stretching the film.
- Proceed to align the film around the grille and sensor areas, working from the center out towards the wheels with minimal stretch. Be mindful around sensors or cutouts, as excessive stretching here can result in unwanted creasing.
- Finally, release the temporarily tacked corners, gently stretch the film towards the wheel arches, and solidify its position using the alcohol solution.
Pro Tips for a Flawless Installation
Avoiding Fingerprints
- Keep your hands wet throughout the installation process to avoid leaving fingerprints on dry adhesive. Wearing gloves can significantly reduce the risk of marking the film.
- If fingerprints do make their way onto the adhesive, gently apply a soap solution to the area, and rub away the mark until it's no longer visible.
Removing Dirt or Contamination
- Whenever feasible, flip the film adhesive-side up, then spray a soap and water mixture on the adhesive. Wipe away the dirt or contamination while the surface is still moist.
- If turning the film isn't possible, apply the soap solution underneath the film and carefully attempt to remove the dirt. Be gentle to avoid leaving rub marks, especially noticeable on darker vehicles.
- Avoid using an alcohol solution for cleaning beneath the film since it can weaken the adhesive, making it prone to damage. Stick with a soap and water solution for this task.
Eliminating Adhesive Lines
- To prevent adhesive lines, avoid creating a straight edge when lifting the film. Instead, lift it in a pocket-like shape, adding plenty of soap and water solution underneath. First, use your squeegee to move water towards the potential adhesive line, and then clear the water from under the film.
- If you need to lift the film significantly, do so until you reach a curve change on the hood, where any adhesive line will be less noticeable.
Removing mars
- Always keep the film's surface moist with a soap and water mixture during the squeegee process to prevent scuffing. If marring does occur, allow the film to rest for about 20 minutes, then use isopropyl alcohol paired with a microfiber cloth to gently buff away the marks.
Dealing with Water Bubbles
- Always direct your squeegee away from the area treated with Alcohol (Tack) solution when removing water to avoid trapping any beneath the film. This can result in undesirable water bubbles.
- Bubbles ranging from 4-5mm (1/8”-1/4”) in size may dry out on their own. Yet, it's advisable to eliminate all water from under the film to prevent any large bubbles from forming permanent air pockets upon drying.
- To remove water bubbles, you can either lift the film and re-squeegee or, for bubbles too far from the edge, carefully utilize a 1cc/1ml syringe.
Wrapping the Edges
- When cutting the film for each car section, ensure that you include an additional 1-1.5cm (0.5-0.75”) of film. This extra length is crucial for wrapping around edges to establish a secure bond.
- It's vital to clean the areas where the film will be wrapped thoroughly with pure alcohol and lint-free wipes, especially under the hood where surfaces are prone to oily residues, ensuring a complete degrease.
- In these specific areas, it might be beneficial to apply adhesion promoters and primers, but avoid applying primer on outer surfaces as it could alter the film's color over time.
Preventing Edge Lift
- Proper edge preparation is key. Cleanse the edges with pure alcohol and lint-free wipes, then dry them entirely to safeguard the adhesive.
- The film should lay flat against the car's body without overhanging. For non-wrap designed templates, maintain the film edge a minimum of 2mm (1/16”) from the panel curves.
- While small overhangs could adhere once the mounting solution dries, they potentially gather dirt and water, risking film detachment eventually.
- Post-installation, especially in cooler or damp conditions, allow at least 1-2 hours for the film to bond securely to the vehicle. Verification of all edges is crucial.
- To remove the film, pull gently at a 45-degree angle towards yourself, avoiding pulling at angles greater than 90 degrees or ripping it off to prevent adhesive transfer to the vehicle’s paint.
Optimal Cleaning and Maintenance Strategies
Effective Cleaning Methods
- It's advised to use a traditional car wash after a waiting period of at least 3 days post installation to ensure the film has adequately bonded to the vehicle. The waiting period may need extension during colder months.
- Washing your car by hand with soap and water is perfectly acceptable and recommended for routine maintenance.
- We advise against the use of pressure washers or car washes equipped with handheld pressure washers. Should you opt for such services, ensure the staff is aware of the vehicle's paint protection film. Maintain a minimum distance of 45cm (1.5ft) from the nozzle to the film to prevent lifting.
Applying Ceramic Coatings
- Ceramic coatings can be safely applied over DRZ films for additional protection.
Bug Removal Practices
- Bugs can be effectively removed using standard car shampoo and a soft sponge. For persistent residues, bug and tar remover shampoos are an excellent alternative. In challenging cases, allow the affected area to soak for 15-20 minutes with the bug removing shampoo.
Maintenance Recommendations
- For dirt and excess wax accumulation particularly along the film's edges, gently clean the area with isopropyl alcohol and a microfiber cloth.
- Regular cleaning of bird droppings, bugs, and other visible contaminants is crucial to prevent film staining. Despite DRZ films being equipped with a special topcoat to resist staining and discoloration, negligence or exposure to harsh chemicals can lead to minor discoloration.
- To restore the initial transparency, apply a mild abrasive wax or polishing compound until the stain is no longer visible. It is important not to use abrasive methods more than once every two years as it can gradually remove the protective topcoat. Resort to polishing only as a last resort.

